
Making your own compost is actually a simple and fascinating process. Without going into scientific mumbo jumbo, this article explains the practical basics and where to start. Hopefully you’ll be inspired to make your own compost by the end of reading this.
Table of Contents
What is Compost?
Simply stated, compost is decomposed organic matter. It contains nutrients and beneficial microbes that replenish the soil. Think of it as rocket fuel for your plants. 🙂
Natural forests make their own compost daily when plant material falls to the ground, animals leave their droppings, and it all decomposes on the forest floor. By composting, you are employing a targeted approach to mimicking what happens in nature. And your plants need it!
Reasons for Making Compost
Personally, I love making my own compost because:
- It saves me a lot of money
- My plants love it
- It’s a great way to save materials from the landfill
- It’s a satisfying daily ritual
If you don’t have a lot of time or have limited space, spending $5-$10 on a bag of compost is a good idea. But in the long run, once you start making it, you probably won’t want to stop. Most of the things you throw in a composter won’t cost you any additional money, making it a very cost-effective solution for nourishing your plants. And if you hate wasting food like me, this is the perfect solution to reduce the amount of food you throw in the trash can.
I’m not against fertilizer, but I’ve found most plants I put in either a container or the ground thrive with added compost. And frequently I don’t need any fertilizer at all. Look at the trees in the forest – they don’t need any Miracle Grow. 😉
We eat a lot of vegetables at my house, so collecting veggie scraps for the compost has become part of meal preparation. I look at carrot tops, moldy brocolli and rotten green beans very differently now! Ha!
When I’m done preparing meals, I look forward to running outside and dumping my scraps into my bin because I know magic is happening inside.
Types of Composters
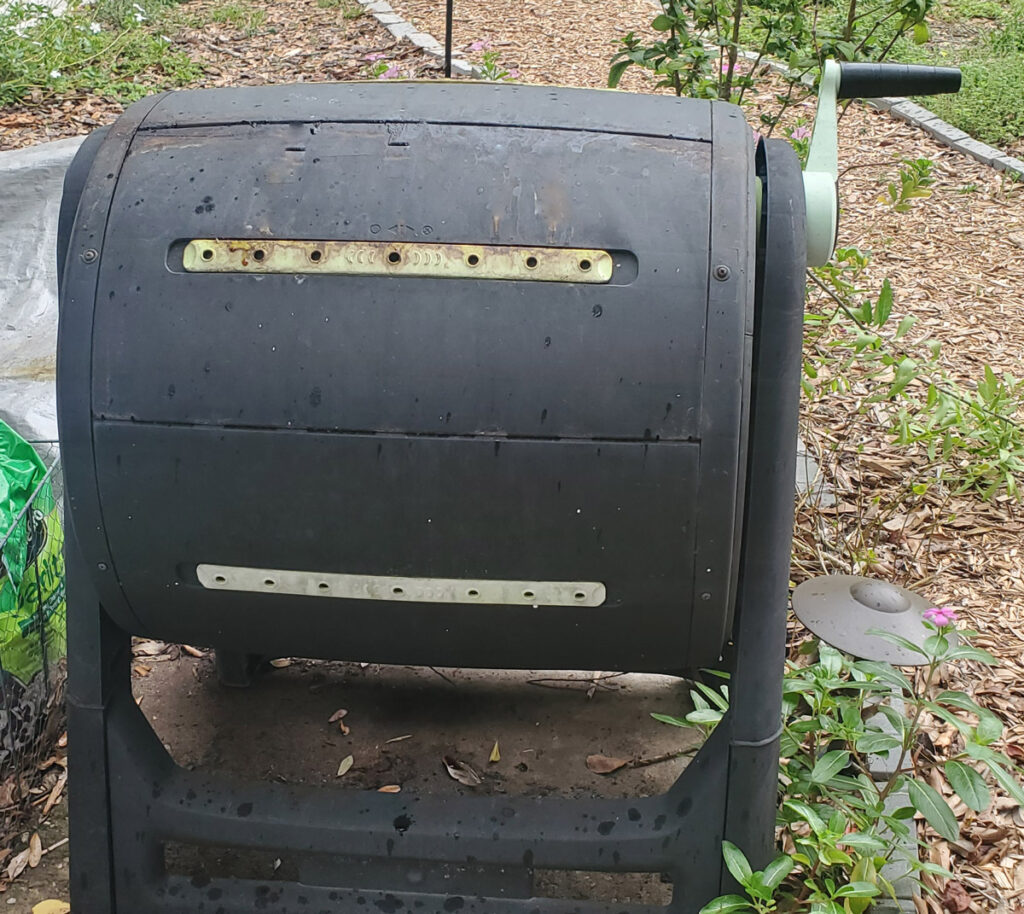
There are a few ways to make your compost. The easiest way is to purchase a rotating barrel-style compost bin. They are designed to be very durable, and have built-in ventilation to aid the breakdown process. All you have to do is turn the crank 1-2 rotations per day. I have a rotating composter myself (pictured above), and it has lasted well over 15 years in brutal Florida weather. She’s not exactly pretty, but she’s sturdy and gets the job done!
For half that cost, there are free-standing versions, but you provide the labor to “fluff” your compost each day.
A third option is making your own bin from hardware cloth or chicken wire. I’ve even seen people use storage totes. So there’s a solution for every budget and time constraint.
(I recommend checking out YouTube for some great videos about the do-it-yourself kind.)
How To Manage Your Compost Fuel
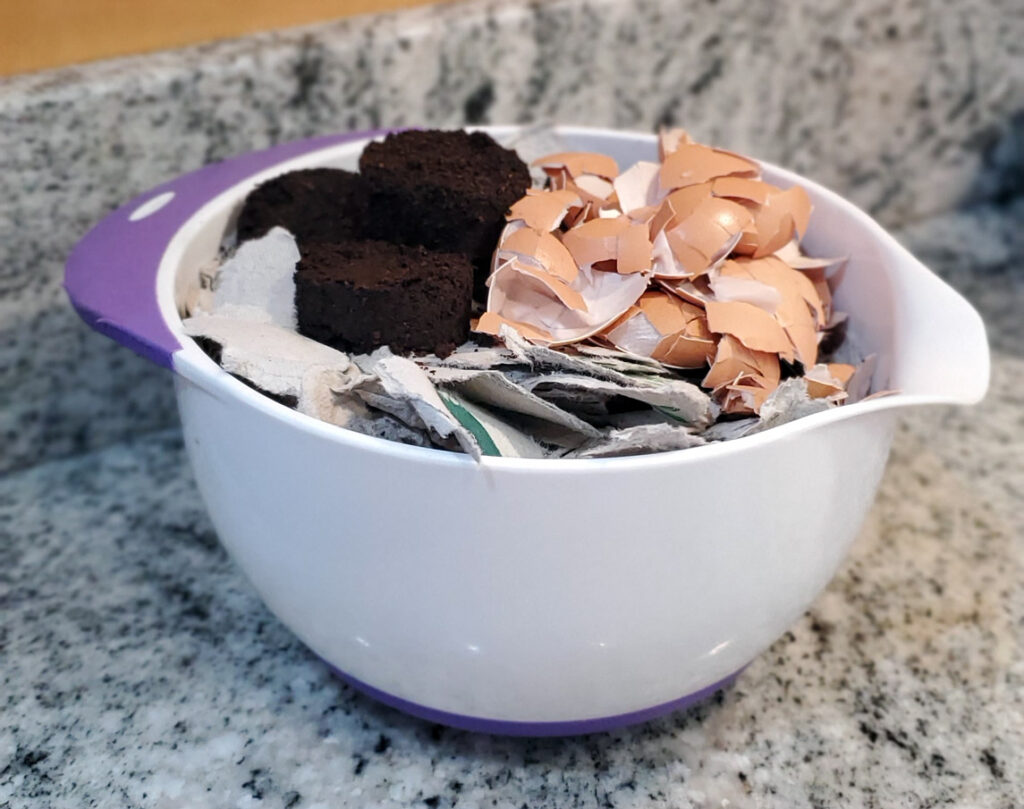
If you can’t put your kitchen scraps directly into your composter every day, I highly recommend keeping a container on your kitchen counter to aid with collection. Personally, I find it easier to keep a bowl that I walk outside each day. But there are fancier containers with filters to help minimize your trips outside and keep the flying and crawling critters at bay. Choose whatever works best for you. 🙂
It's All in the Balance
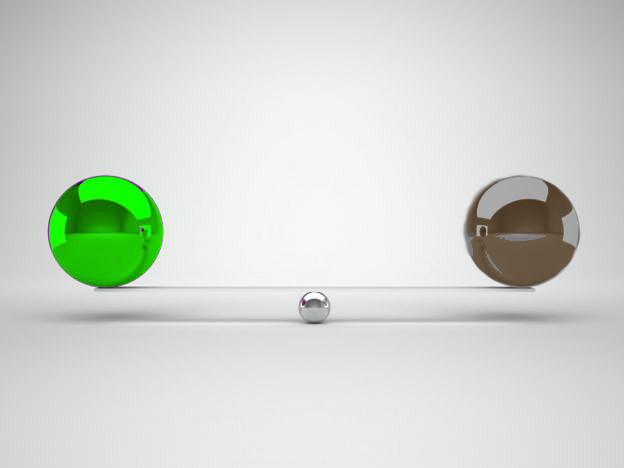
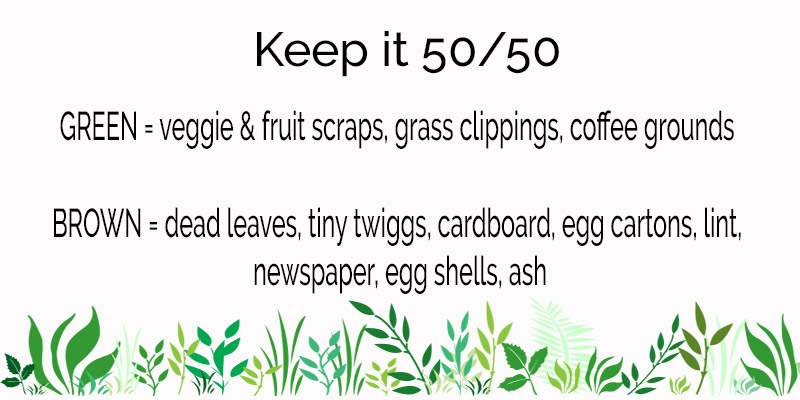
Compost is comprised of organic plant matter, not animal matter, so you cannot throw rotten hamburgers, chicken bones, dairy, oils or dead skunks in your composter. (Just kidding!) However, veggie and fruit scraps are great, and so is fruit. So think GREEN.
Then you want to throw in dead leaves, pinecones, hay, and tiny twigs. So think BROWN.
You want the mix to be about 50/50 GREEN & BROWN. (If it isn’t, read what happens below.)
Fun Things To Throw In Your Composter
I was admittedly very surprised at some of the items you can compost. Below is a list:
- Rotten vegetables and fruit you forgot about in the back of the refrigerator (GREEN) – I know you meant to eat it, but hey, life happens! Moldy & stinky is OK. Congratulations – it’s not completely wasted now. Yay!
- Cardboard (BROWN) – Make sure it’s plant-based ink with no labels, stickers or tape and it’s plain brown
- Brown paper egg cartons (BROWN) – It’s made from trees, so you can compost it too.
- Lint from the dryer (BROWN) – Yes! That stuff you have to get rid of after every load of laundry can go in your composter. (Just be sure that you didn’t use fabric softener with it because it won’t break down and could be toxic.)
- Coffee grounds (GREEN) – They provide nitrogen and other trace elements. Score!
- Newspaper (BROWN) – Once you’re informed and read the comics, into the composter they go.
- Crushed Egg Shells (BROWN) – They provide calcium to your plants ( And bonus: it releases slowly, feeding your plants over time.)
- Ash from your fireplace (BROWN) – This provides calcium and other trace elements. Don’t let it get wet – keep it in a dry container until needed.
- Cut grass (GREEN) – Rake up grass clippings after you mow. It’s excellent for your compost.
Pro Tip
Keep your brown materials near your composter (like dead leaves, newspaper, ash). If you throw in some raw vegetable scraps, throw an equal amount of leaves in right afterward. This keeps the mix even every day so that it never gets out of balance.
I Got Everything Set Up - Now What?
If patience is a virtue, then composting will build virtue. ha! Now we wait for the magic to happen…
Once you’ve acquired your equipment, start your daily routine. If you have a barrel composter, then turn the crank 1-2 revolutions per day. If you miss a day sometimes, it will be fine. But without the continual supply of oxygen, the process could change and everything could stop decomposing and start rotting instead. Ewwwe! (There is science behind this that I won’t cover in this article.) The big clue is that it will start smelling BAD. We’re talking dive for the clothespin or chip clip for your nose BAD. Otherwise, it will just have an “earthy” smell, like strong freshly-mowed grass.
Seeing occasional bugs is normal as well. Actually, they can aid in the decomposition process so don’t panic if you see a roach scurry out of your compost. Double ewwwe!
TIP: If you see worms or larve in your compost, this is not the end of the world either. However, some people, including myself, think this is GROSS. If you want them gone, sprinkle some garden lime in your compost and they will pack their bags and move out of your compost hotel.
How Long Before I Can Use My Compost?
It can take 1-3 months to create a batch of compost. This depends heavily on how much you feed into it each day. I usually fill my composter for about 2 or 3 months and then stop for another week or so to allow it to break down more fully. (Usually it gets heavy and hard to turn it when it’s done.) Continue to turn it each day, even when it’s resting.
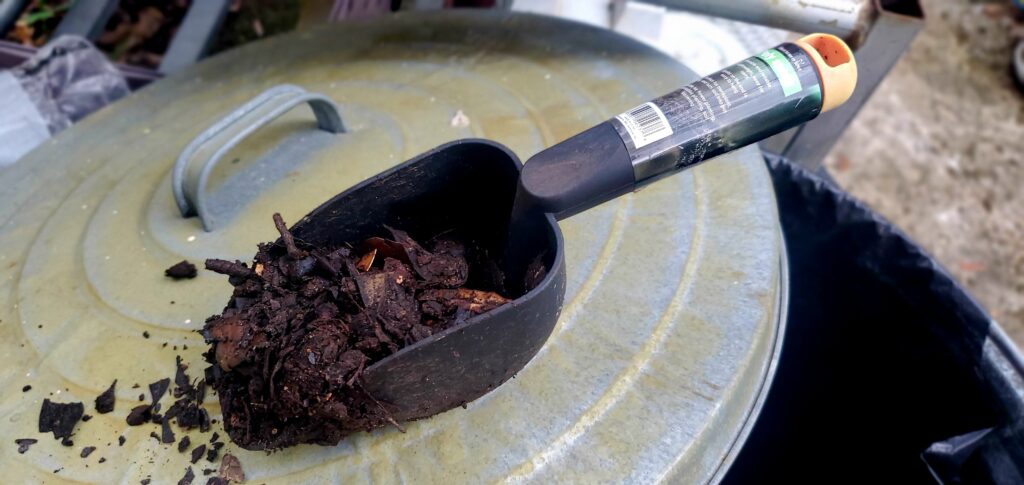
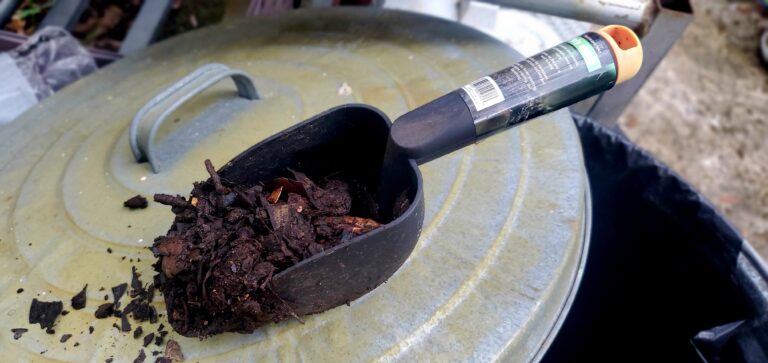
Once the batch is done, it will look a lot like dirt with some “chunks” in it. The chunks are OK because once you add them to a pot or soil, it will continue to decompose and feed your plants.
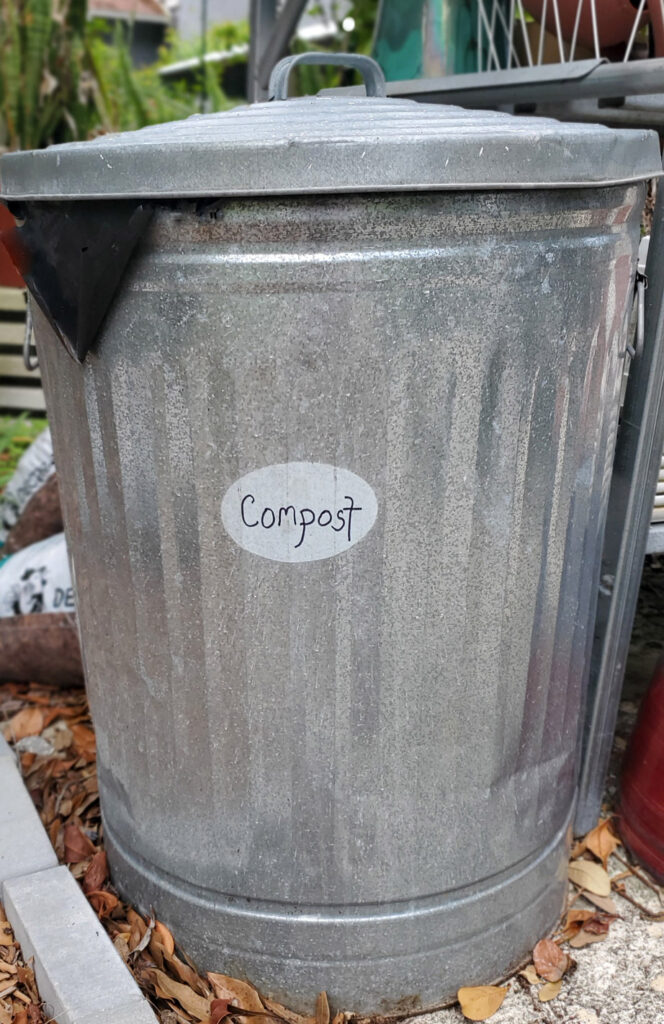
Lastly, empty your composter onto a tarp, which makes it easy to transfer it to a holding bin. I like to put mine in a galvanized trash can because it can withstand brutal Florida weather and stay nice and dry. It is usable for up to 2 years but is at peak potency for the first 3-6 months.
Links to Items in This Post
Here are some links to examples of the products I mentioned above that will aid you in creating compost.
Sum It Up
Let’s review quickly:
- Choose your type of composter: barrel, free-standing, DIY
- Decide where you will collect your composting items, and where to place your composter.
- Keep brown items nearby to keep your mix balanced with your green items.
- Turn the crank or fluff your compost daily.
- When you see the compost turn to rich black “dirt”, you are ready to empty your composter.
- Store in an air-tight container until needed.






 Thanks a ton – Your feedback is much appreciated and helps me improve. Have a lovely day!