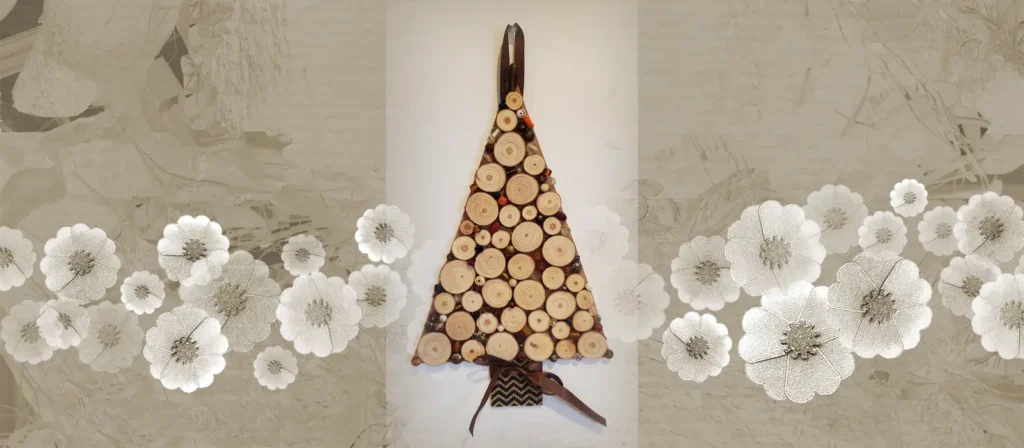
Have you ever considered swapping out some of the art on your walls when you decorate for each season? It seems “extra”, but doing so can help create a more cohesive, peaceful feel to your space. I have a few special pieces that only come out at certain times of the year, and I put a few things away until next season to keep clutter down.
As the trees prepare to hibernate for winter, nature provides an abundance of treasures for creating beautiful autumn art. There’s something so cozy about natural materials like burlap, wood, and dried botanicals such as branches, leaves, pinecones, and acorns. And they all look beautiful paired together.
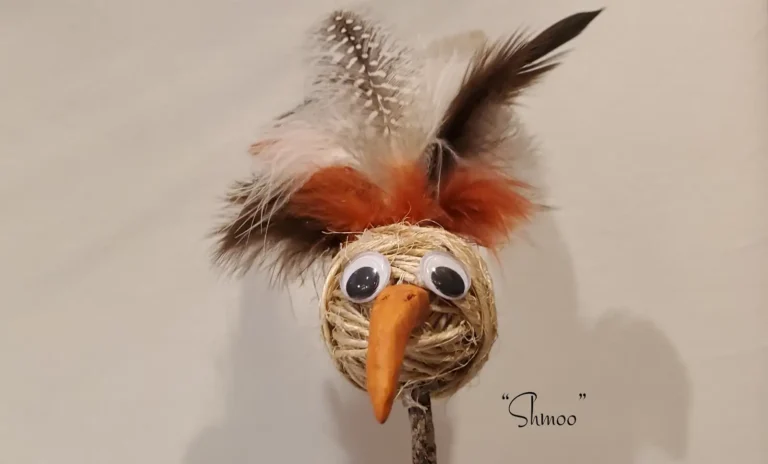
I especially enjoying working with wood at this time of year. You can do a vast array of things with slices of wood for instance. One year, while on vacation with my family to see the autumn leaves change, I made the stylized tree pictured at the top of this article. I bring it out of storage as wall art every fall. 😊 (I also used a wood slice at the base of my pinecone bird that you can also check out.)
You can purchase all kinds of wonderful art, but there’s something special about creating your own. Sometimes pieces are passed down in families for generations. If you’re looking for a simple afternoon project paired with hot tea and some mellow acoustic guitar music in the background, this is the perfect undertaking.
FUN TIP
If they are able to work with glue, this is a great craft for kids as well as adults! Just break out the Elmer’s. 🙂
Table of Contents
Materials Needed
To make the tree you will need:
- Cardboard ( the cardboard should lay flat and be thicker, less bendable)
- Wood slices
- A small piece of burlap
- Hot glue gun
- Clear glue sticks
- Scissors or tape knife
- Assorted Beads of varying sizes and colors
- Ribbon
- Craft paint (optional)
How To Construct The Tree
Construction is very simple:
- First, using scissors, cut your cardboard into a simple tree.
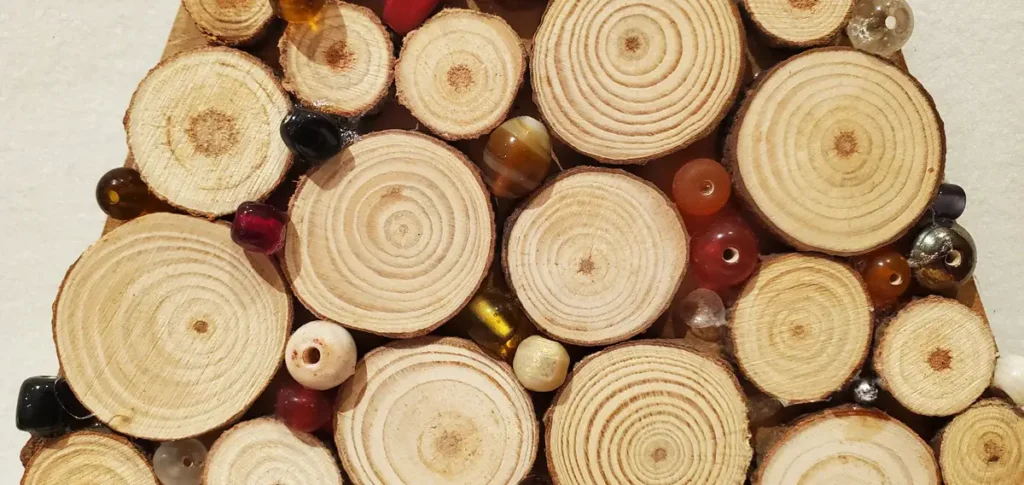
- Next, glue on the wood slices. Be sure to arrange them as to cover as much of the cardboard as possible.
- At this point, you can optionally paint the tree any color. (I chose to leave mine natural.)
- Next, fill in the gaps with the beads. For an even more finished and layered look, add another layer of seed beads in the tiny gaps. Apply glue with a Q-tip or a very thin paintbrush to reach the tiny crevices.
- Next, glue the burlap onto the base of the tree and tie a simple bow around the base.
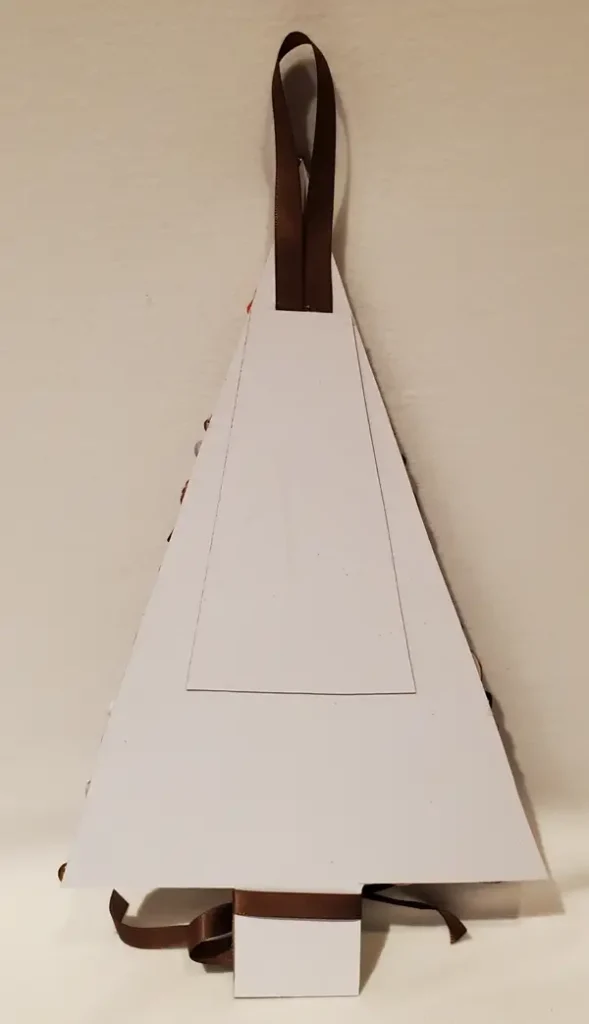
- Lastly, add a simple loop of ribbon to the back with hot glue for hanging. Glue another piece of cardboard over it for security and to ensure that it hangs flat against the wall.
Creative Substitutions
Mix this up by creating any shape you’d like and embellish it. It doesn’t have to be a tree. It could be a circle, a cloud, or even a goat! ha!
You could also apply this same concept to lettering or numbers. As an example, I could make a giant 12″ letter “C” for my wall and cover it in purple glitter and flowers to suit my personal taste. ha!
You could also modify this project for any season.
SPRING – Use tiny fake flowers instead of wood slices, and add green moss in the gaps.
CHRISTMAS – Use jingle bells, red & green beads, sequins and glitter
PATRIOTIC – Use red, white and blue buttons with silver glitter and patriotic ribbon.
OTHER MULTIMEDIA IDEAS – You could also turn this into a piece of multimedia art by using paint, glass, and other findings to glue on the base. However, you may need to create a second layer of cardboard to strengthen it if you use heavy materials.
Let your imagination run wild!

The Wrap-Up
Add some homemade lovely decor to your home this fall. Call a friend to come over, grab your hot glue gun, pour some delicious apple cider, and craft away!





 Thanks a ton – Your feedback is much appreciated and helps me improve. Have a lovely day!