
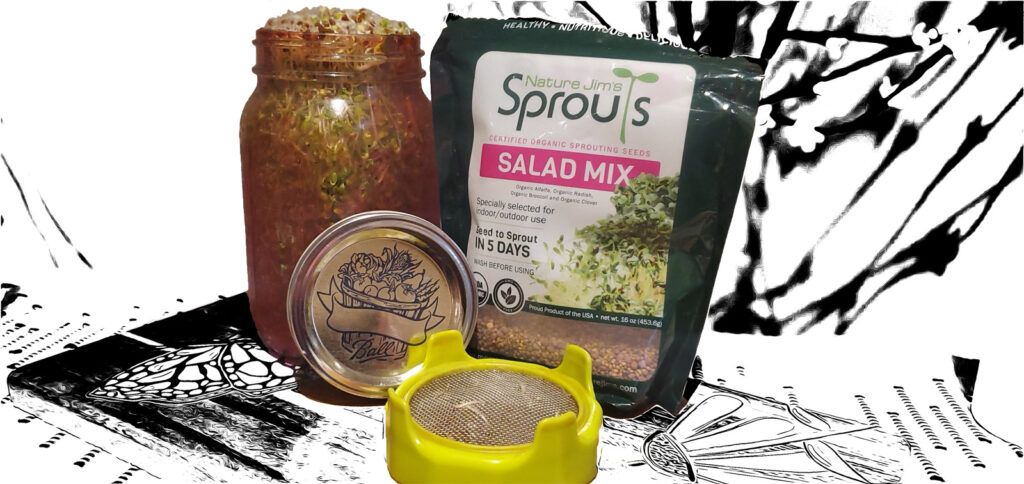
Adding sprouts to your diet is a simple way to boost your overall health. Packed with vitamins and minerals, they are a nutritional powerhouse. With an entire plant hiding inside each little seed, you get a burst of all its mighty micronutrients in one explosive bite. I’d say that’s a beautiful thing!
If you’ve ever visited a health food store, a small package of sprouts can be a bit expensive. They also don’t seem exactly simple to grow. At least that’s what I thought until I looked into growing them myself. To my surprise, they are extremely cheap and easy to grow! With a small initial investment, you can have fresh homegrown sprouts for months and months. It only takes 15 minutes of work to make a batch. That’s a great investment for your health!
Table of Contents
What Do I Need?
To grow sprouts you’ll need only 5 things, and you may already have some of them on-hand:
- A spot on your kitchen counter
- A wide-mouth mason jar with a lid (make sure it’s wide and not standard.)
- A bag of sprouting seeds
- A small dish or plate (to catch water)
- A sprouting lid (link below)
Types of Sprouting Seeds
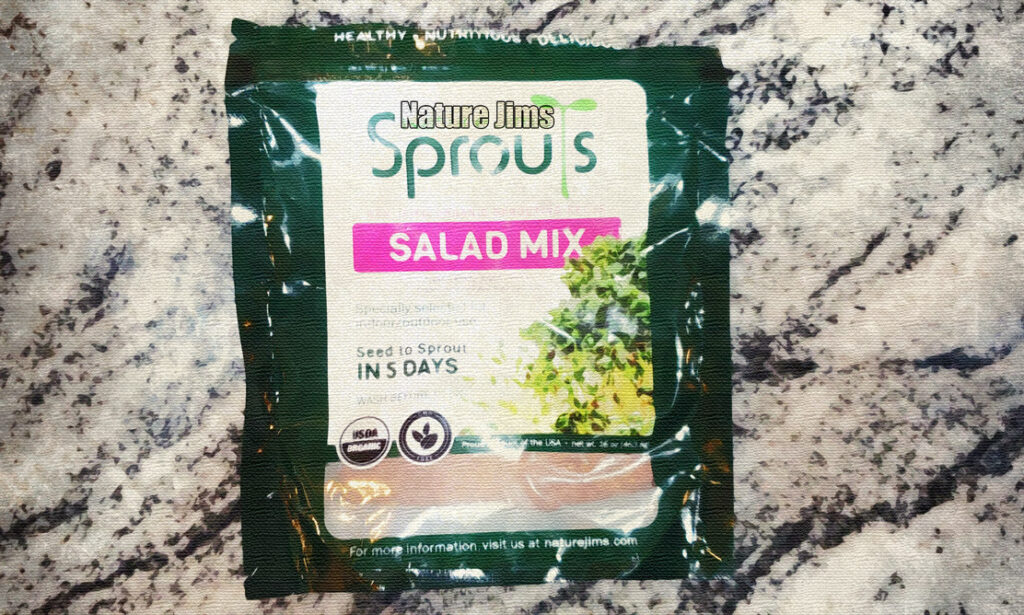
There are multiple types of seeds that you can sprout and eat. I’ll cover the most commonly eaten ones here. I recommend purchasing a mixed bag of seeds to diversify the benefits. I also recommend organic seeds to keep potential toxins low.
- Broccoli – the superstars of sprouts due to high vitamin C, protein, and phytochemicals.
- Alfalfa – high protein, high in Vitamin C, K & folate
- Radish – high in antioxidants, good for digestive support, rich in Vitamin C and potassium
- Lentil – high in protein and iron, low glycemic, high in folate and magnesium
- Sunflower – contains a full amino acid profile along with healthy fats
Steps for Sprouting
DAY 1
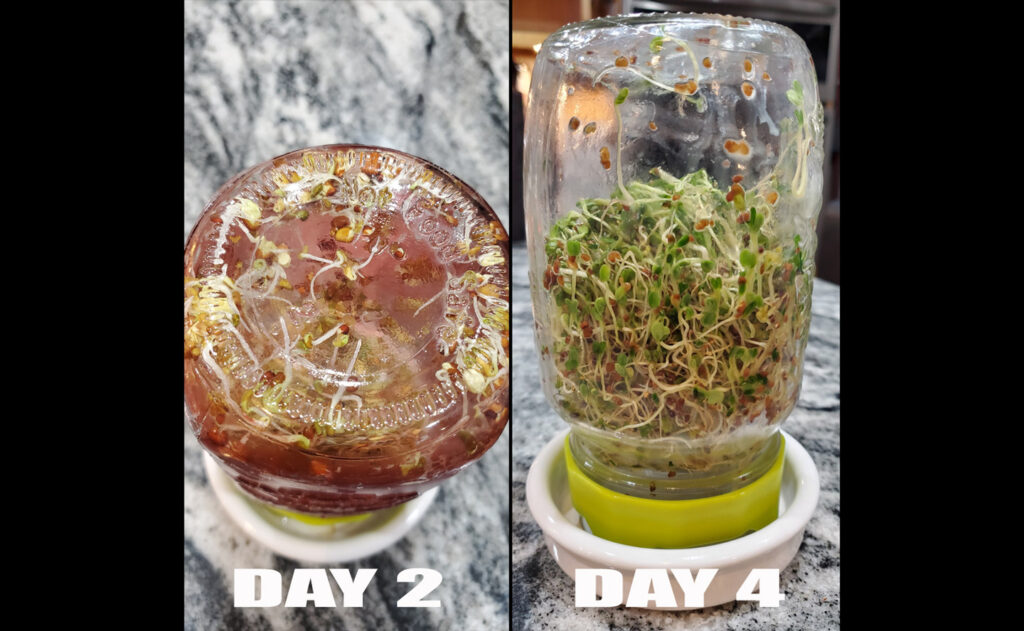
The first step is to soak your seeds for at least 8-12 hours. The idea is to jumpstart your seeds and wake them up. (Hey, it’s time to grow!) Add 2 Tbsp of seeds to your jar and then fill it halfway with water. Then screw on your sprouting lid and place it upright on your kitchen counter.
After soaking your seeds for 8+ hours, give them a good rinse with clean water.
Next, turn your jar upside down and place it in a small dish to drain.
DAY 2-5
Your job for approximately the next 5 days is to rinse your seeds each morning and night, keeping the jar upside down to drain after each rinse.
In 5 days, you will watch them sprout and begin to fill the jar.
Depending upon the type of seeds you choose, it will take approximately 4-6 days for the sprouts to fill your jar. Once the jar is full, rinse and drain them one last time.
NOTE: If you are late rinsing them, it will be fine. Just rinse them as soon as you remember.
LAST DAY
All done!
To store them, remove the sprouting lid, put the mason jar lid on, and pop them in your fridge. They remain at peak freshness for at least 2 weeks if kept cold (40 degrees), but I’ve had some batches last surprisingly as long as 3 weeks.
I do NOT recommend eating them if they appear “brownish”, slimy, or otherwise unsavory. Just make a fresh batch!
Notable Tidbit
Placing your sprouting jar on your kitchen counter is not required, but it will help you remember to take care of your sprouts each day. They do not need direct sun to grow.
How to Enjoy Your New Delicious Sprouts

Some sprouts taste a little “spicy”, but most have a nice “earthy” flavor. Besides consuming them à la carte, here are some other ideas for how to enjoy them:
- Add them to your salad
- On sandwiches, pita, tacos or wraps
- Top off stir-fries or soups at the end of cooking
- Add as a garnish to any one-pot dish
- Mix into hummus
- Add on top of avocado toast
- Put some on your hamburger
Links to Products Used For Sprouting
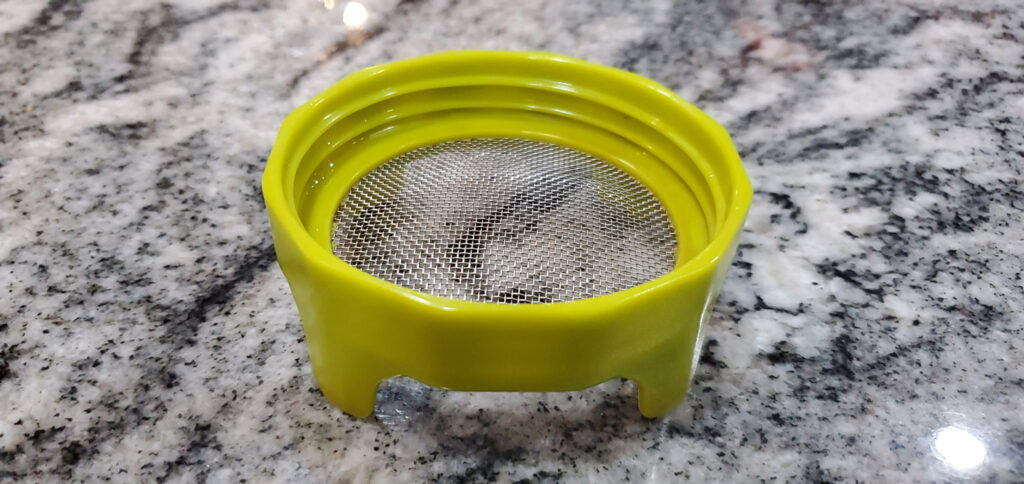
Here are examples of the products needed to grow your sprouts.
There is some variance in materials and styles. Buying an entire kit isn’t necessary unless you want the convenience.
If you’d like to save $$$, pick up a mason jar at your local thrift store. (The Red White & Blue store is a great option if you have one near you! See Discount Shopping in Tampa Bay Florida )
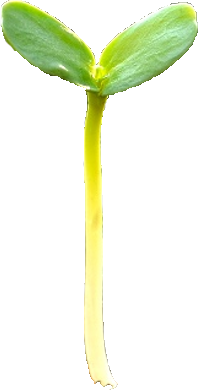
Grow. Munch. Enjoy.
Quick Summary
Sprouting seeds is a great way to boost your nutrition. It’s super easy, fast, and inexpensive.
- Soak your seeds.
- Rinse them 2x/day – every morning and evening.
- When the jar is full of sprouts, rinse and drain.
- Put the lid on and refrigerate.
- Munch munch munch!
- That’s it!







 Thanks a ton – Your feedback is much appreciated and helps me improve. Have a lovely day!